Introduction
Brake lights are an essential safety feature in any vehicle. They indicate to other drivers that you are slowing down or coming to a stop, allowing them to react accordingly. Over time, brake lights may burn out and need replacement. In this article, we will provide you with a step-by-step guide on how to change the brake light in your vehicle.
Gather the Necessary Tools
Before you begin, make sure you have all the tools required for the job. You will need a screwdriver, a replacement bulb, and a clean cloth. It's essential to have the correct replacement bulb for your specific vehicle model. You can consult your vehicle's manual or the manufacturer's website to find the appropriate bulb type.
Locate the Brake Light Assembly
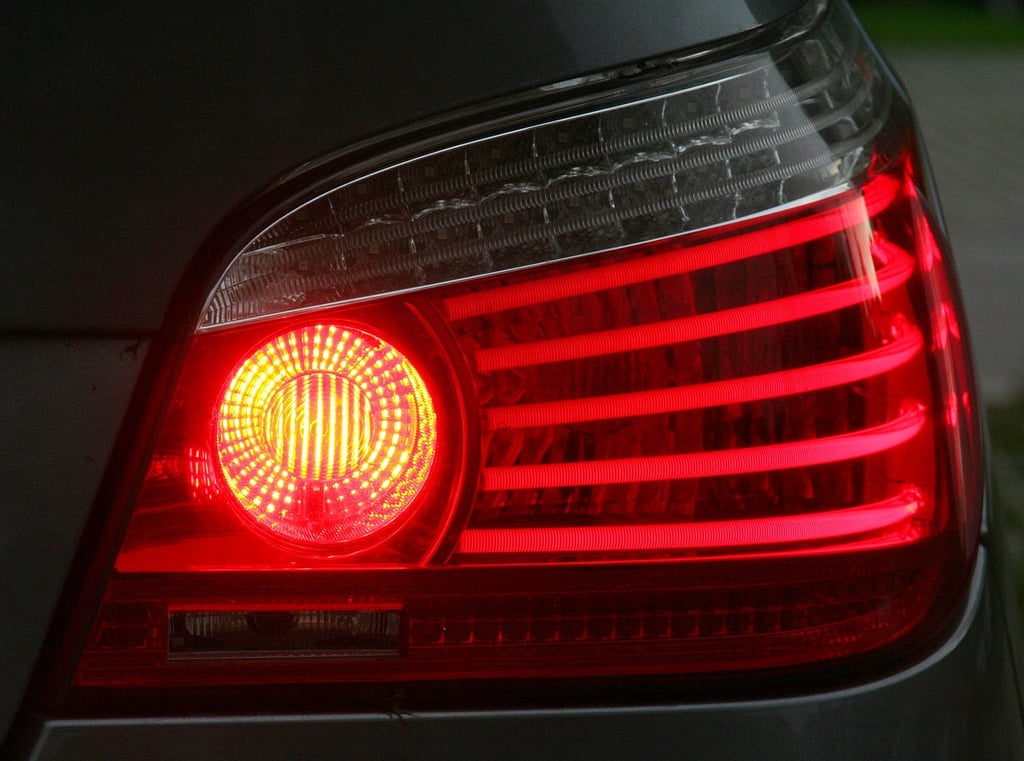
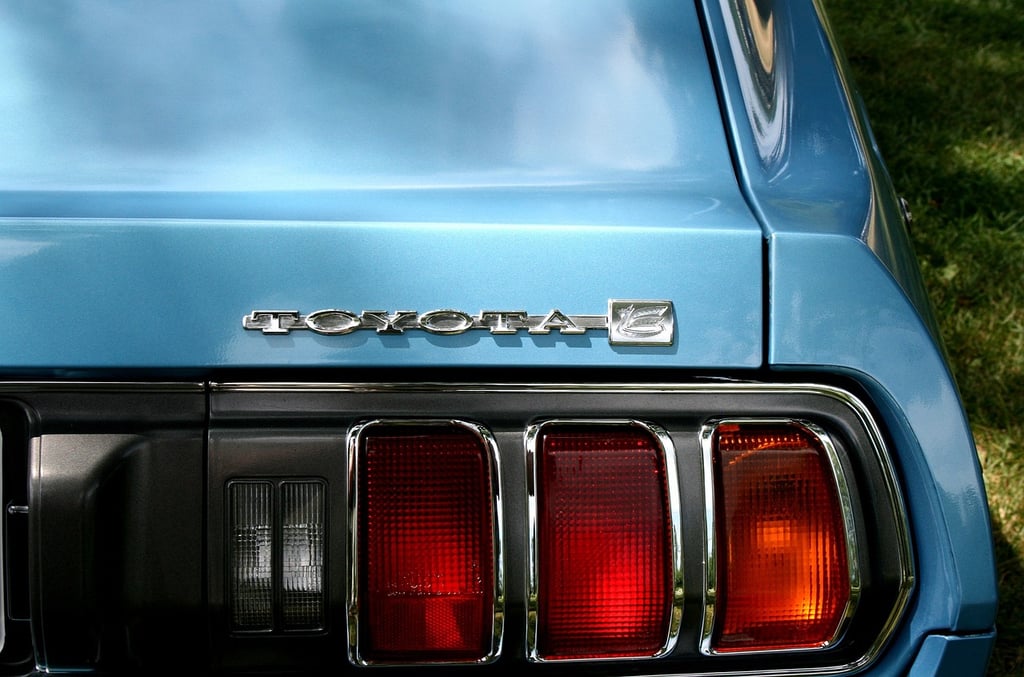
The next step is to locate the brake light assembly in your vehicle. In most cars, the brake light assembly is situated on the rear of the vehicle, either on the trunk lid or on the rear fender. Some vehicles may have multiple brake lights, so ensure you identify the correct one that needs replacement.
Remove the Old Bulb
Once you have located the brake light assembly, you need to remove the old bulb. Use a screwdriver to remove the screws or clips that hold the assembly in place. Carefully detach the assembly from the vehicle, taking note of any wiring or connectors that may be attached. Gently disconnect the wiring harness and remove the old bulb by twisting it counterclockwise.
Clean the Assembly and Install the New Bulb
Before installing the new bulb, it's a good idea to clean the brake light assembly to ensure optimal visibility. Use a clean cloth to wipe away any dirt or debris that may have accumulated. Once the assembly is clean, take the new bulb and insert it into the socket. Twist it clockwise to secure it in place.
Reattach the Brake Light Assembly
With the new bulb installed, it's time to reattach the brake light assembly to your vehicle. Carefully reconnect the wiring harness and ensure it is securely attached. Align the assembly with the appropriate slots or mounting points and use the screwdriver to reinsert the screws or clips. Make sure the assembly is snug and properly aligned.
Test the Brake Light
Once you have completed the installation, it's crucial to test the brake light to ensure it is functioning correctly. Have someone step on the brake pedal while you observe the rear of the vehicle. The brake light should illuminate brightly and without any flickering. If the light is not working as expected, double-check the bulb installation and the wiring connections.
Conclusion
Changing a brake light may seem like a daunting task, but with the right tools and a step-by-step approach, it can be a straightforward process. Remember to gather the necessary tools, locate the brake light assembly, remove the old bulb, clean the assembly, install the new bulb, reattach the assembly, and test the brake light. By following these steps, you can ensure the safety of yourself and others on the road. If you are unsure or uncomfortable performing this task, it is always best to consult a professional mechanic.


