Are you tired of getting pulled over by the police because your license plate light is out? Don't worry, replacing it is easier than you might think. In this article, we will guide you through the process of replacing your license plate light in just 4 simple steps. Whether you are a seasoned DIY enthusiast or a beginner, you can do this with ease. So, let's get started!
Step 1: Gather the necessary tools and materials
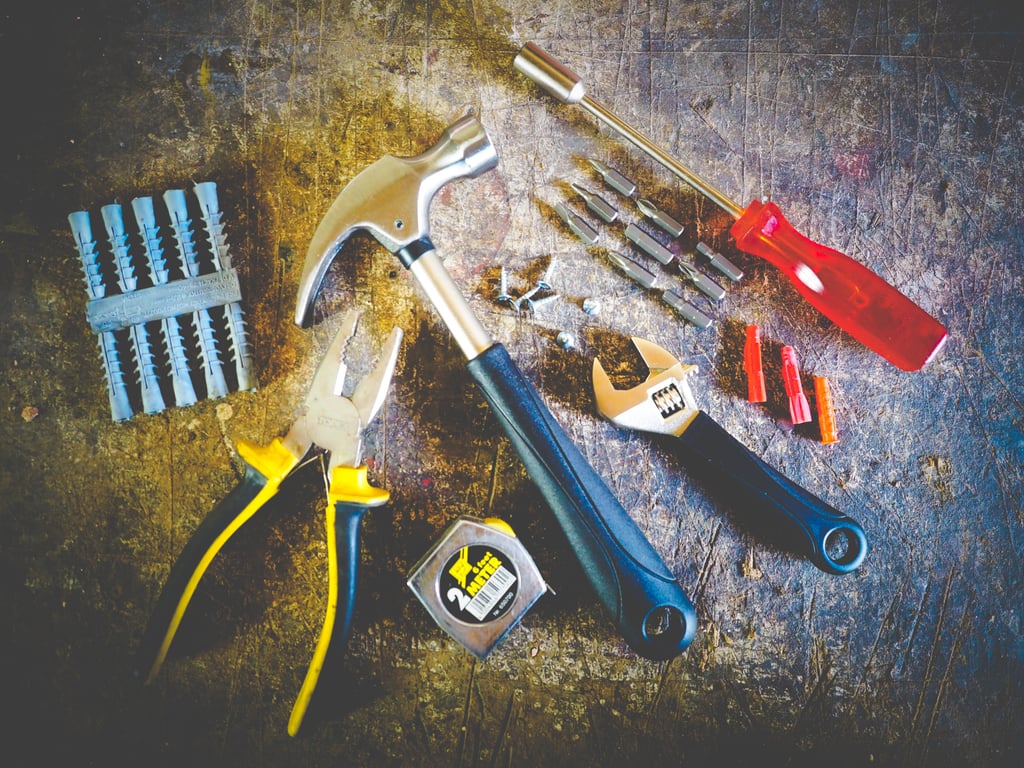
Before you begin replacing your license plate light, make sure you have all the required tools and materials at hand. You will need:
- Screwdriver (flathead or Phillips, depending on your vehicle)
- New license plate light bulb
- Clean cloth or gloves
Having these items ready will save you time and frustration during the replacement process.

Step 2: Locate the license plate light assembly
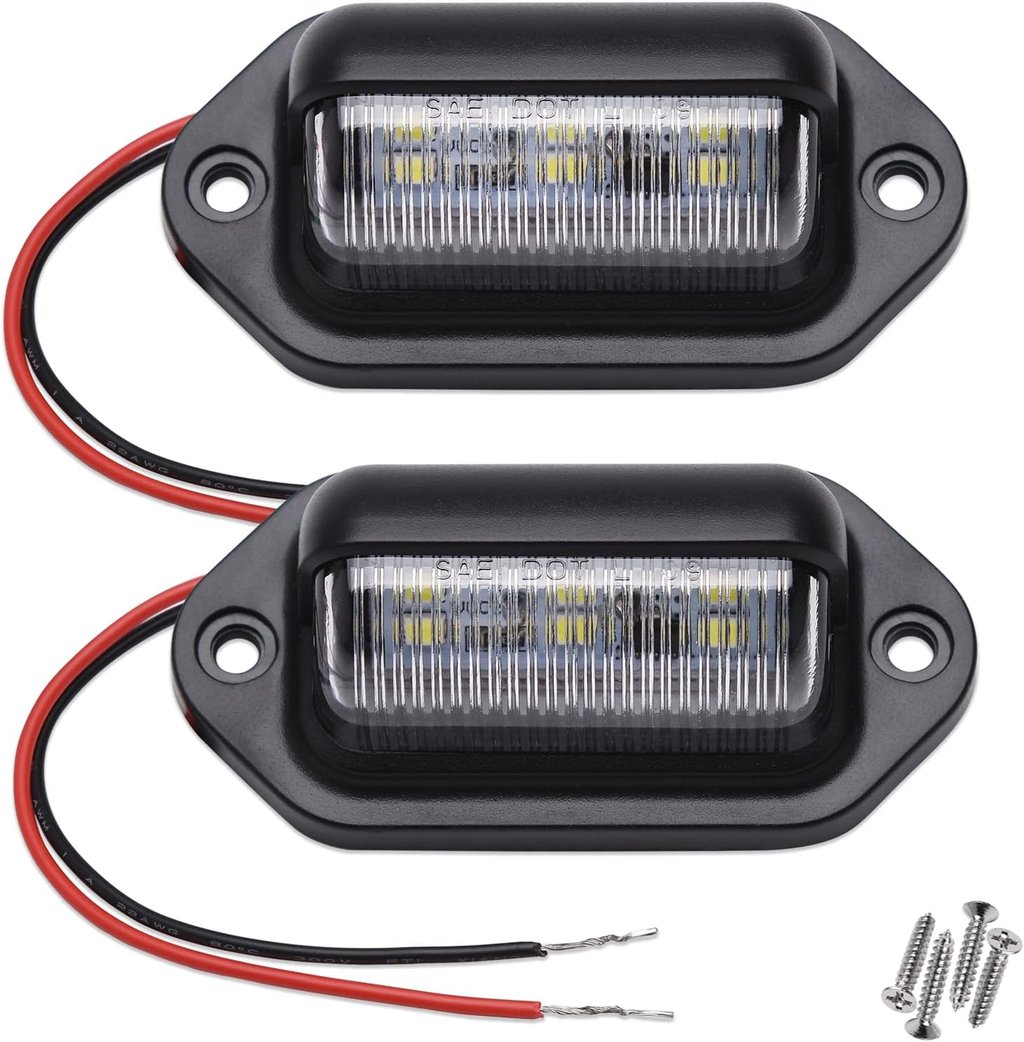
The next step is to locate the license plate light assembly on your vehicle. In most cars, it is located above or below the license plate, either inside the trunk or on the exterior. Refer to your vehicle's owner's manual if you are unsure about the exact location.
Once you have found the assembly, you may need to remove a plastic cover or trim piece to access the bulb. Use your screwdriver to carefully remove any screws or clips holding the cover in place. Be gentle to avoid damaging the surrounding area.
Step 3: Remove the old license plate light bulb
Now that you have access to the bulb, it's time to remove the old one. Carefully twist the bulb counterclockwise to loosen it from the socket. Once it is loose, gently pull it out. If the bulb is stuck, you can use a clean cloth or gloves to provide a better grip.
Inspect the old bulb for any signs of damage or burning. If it is blackened or broken, it is definitely time for a replacement. Using a damaged bulb can lead to poor visibility and may even result in a ticket.
Step 4: Install the new license plate light bulb
Now that you have removed the old bulb, it's time to install the new one. Take the new bulb and insert it into the socket. Make sure it is securely in place by giving it a gentle twist clockwise. Avoid touching the glass part of the bulb with your bare hands as the oils from your skin can cause it to overheat and fail prematurely.
Once the new bulb is installed, test it by turning on your headlights or activating the license plate light. If it illuminates properly, congratulations! You have successfully replaced your license plate light. If not, double-check the installation and make sure it is securely seated in the socket.

Conclusion
Replacing your license plate light is a simple task that anyone can do. By following these 4 steps, you can ensure that your license plate light is always in working order, avoiding any unnecessary hassle or potential traffic violations. Remember to gather the necessary tools, locate the assembly, remove the old bulb, and install the new one. With just a few minutes of your time, you can maintain the safety and legality of your vehicle. So, go ahead and replace that license plate light!

