
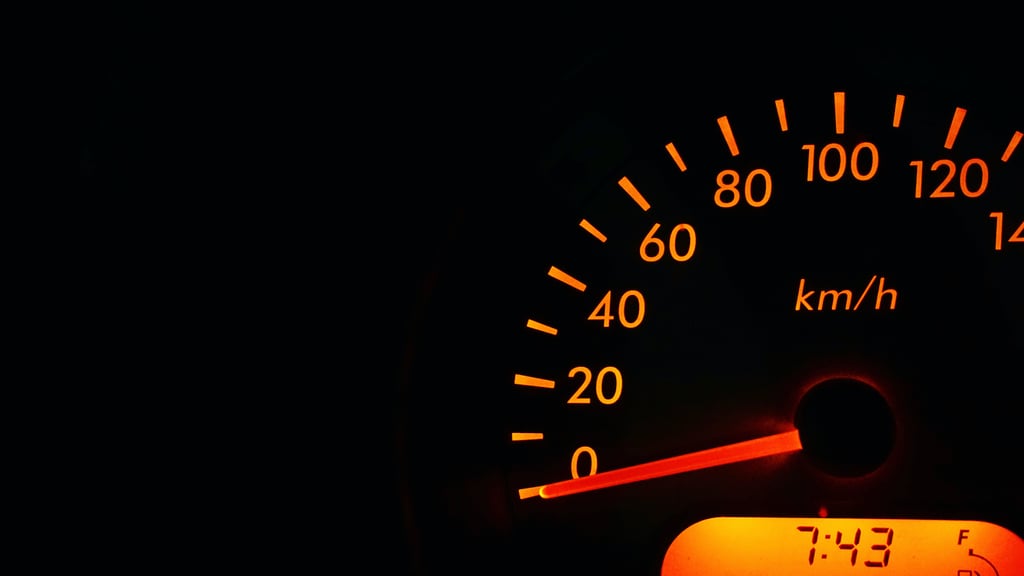
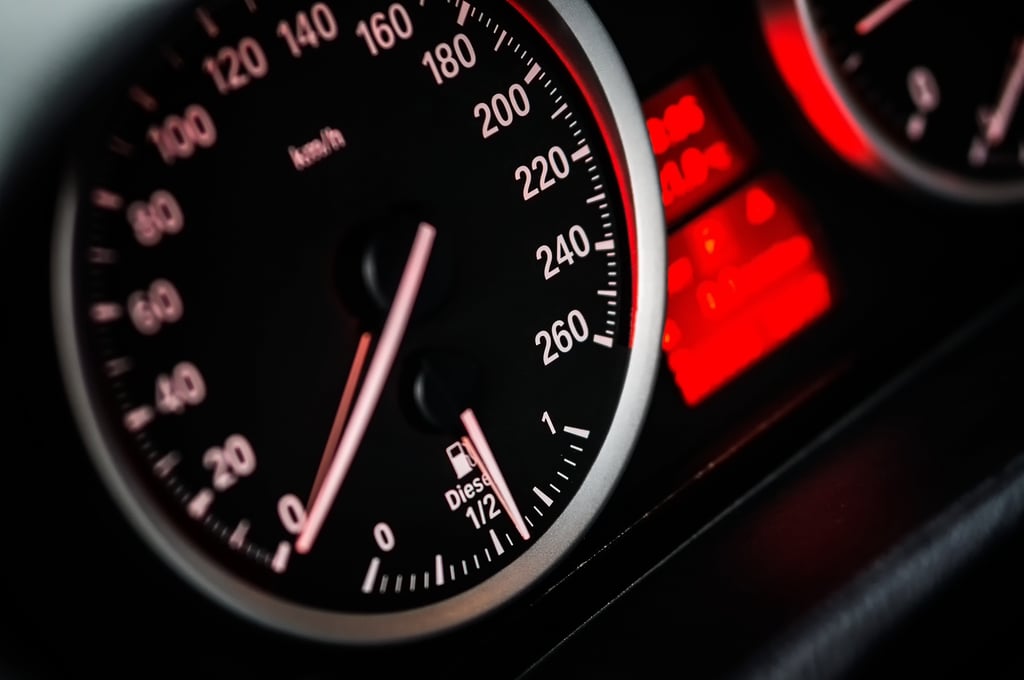
Understanding Dashboard Lights
Dashboard lights are an essential component of any vehicle. They provide crucial information about the car's performance, warning signs, and various indicators that help the driver operate the vehicle safely. However, when these lights suddenly stop working, it can be frustrating and even dangerous. In this article, we will explore the common reasons behind dashboard light failure and guide you through the process of identifying the fuse responsible for their operation.
Step 1: Locate the Fuse Box
The first step in solving the mystery of which fuse controls the dashboard lights is to locate the fuse box. In most vehicles, the fuse box is typically located under the dashboard on the driver's side or in the engine compartment. Consult your vehicle's manual to find the exact location of the fuse box.
Step 2: Identify the Dashboard Lights Fuse
Once you have located the fuse box, it's time to identify the specific fuse that controls the dashboard lights. The fuse box cover usually has a diagram that indicates the function of each fuse. Look for the fuse labeled "dashboard lights" or "instrument panel lights." In some cases, the fuse may be labeled differently, so refer to your vehicle's manual for assistance.
Step 3: Check the Fuse
Now that you have identified the dashboard lights fuse, it's time to check if it is the culprit behind the malfunction. Using a fuse puller or a pair of needle-nose pliers, carefully remove the fuse labeled for the dashboard lights. Inspect the fuse for any signs of damage, such as a broken filament or blackened appearance. If the fuse appears to be faulty, replace it with a new fuse of the same amperage rating.
Step 4: Test the Dashboard Lights
After replacing the fuse, it's time to test whether the dashboard lights are functioning properly. Start your vehicle and turn on the headlights. If the dashboard lights come on and remain illuminated, congratulations, you have successfully resolved the issue. However, if the lights still do not work, there may be a deeper electrical problem that requires professional assistance.
Common Reasons for Dashboard Light Failure
While a blown fuse is a common cause of dashboard light failure, there are other potential culprits to consider. One possible reason is a faulty light switch. Over time, the switch can wear out or become damaged, preventing the dashboard lights from turning on. Another possibility is a malfunctioning dimmer switch, which controls the brightness of the dashboard lights. If the dimmer switch is faulty, the lights may not work at all or may only work intermittently.
Additionally, a loose or corroded electrical connection can also cause the dashboard lights to fail. Check the wiring harnesses and connectors associated with the dashboard lights for any signs of damage or loose connections. If necessary, clean the connectors and secure any loose wires to ensure a proper electrical connection.

Conclusion
When your dashboard lights stop working, it can be frustrating and may compromise your safety on the road. By following these four steps, you can quickly identify which fuse controls the dashboard lights and resolve the issue in no time. Remember to consult your vehicle's manual for specific instructions and always exercise caution when working with electrical components. If the problem persists, it is best to seek professional help to avoid any further complications.