
Understanding the Basics of a Copy Machine
Copy machines, also known as photocopiers, are essential tools in offices and businesses for duplicating documents quickly and efficiently. Whether you need to copy important paperwork or create multiple copies of a handout, knowing how to use a copy machine can greatly enhance your productivity. In this article, we will guide you through the steps of using a copy machine effectively.
Gathering the Necessary Materials
Before you begin, ensure that you have all the required materials handy. You will need the original document you want to copy, blank sheets of paper, and any specific supplies such as transparencies or labels that may be necessary for your copying needs. Double-check that the copy machine is properly connected to a power source and has enough paper and toner or ink.
Setting Up the Copy Machine
Once you have gathered the materials, it's time to set up the copy machine. Start by adjusting the paper guides to match the size of the paper you are using. This will ensure that the paper is aligned correctly and prevents any potential paper jams. Next, check the copy settings to select the desired options. Common settings include the number of copies, paper size, and orientation. If you need to enlarge or reduce the size of the document, adjust the zoom or percentage settings accordingly.
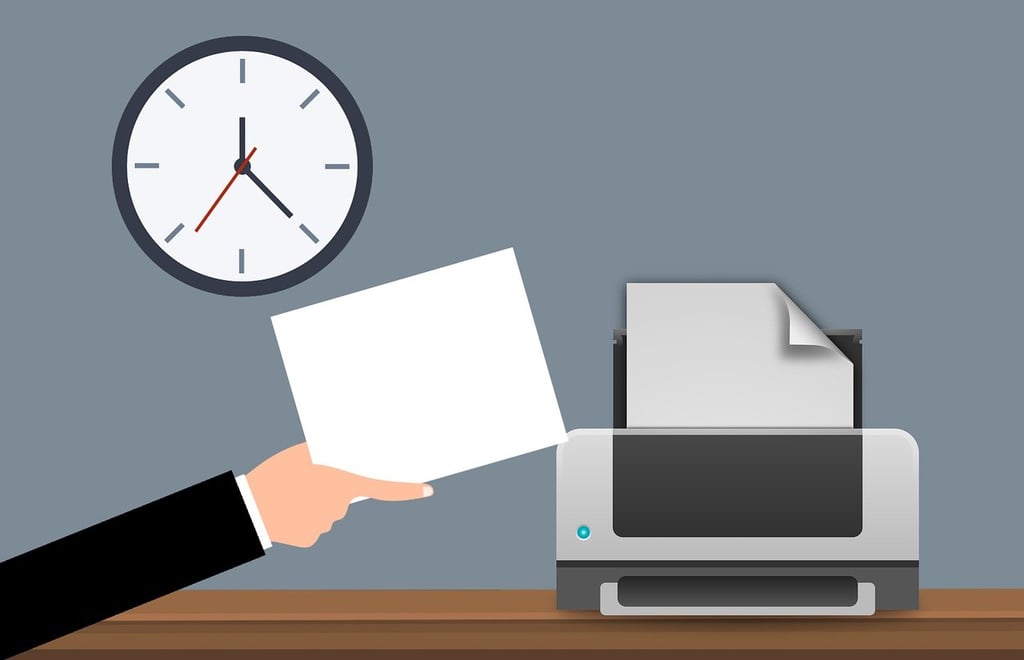
Placing the Original Document
Now that the copy machine is set up, it's time to place the original document. Open the document feeder tray or lift the copy machine's lid, depending on the type of machine you are using. Lay the original document face-down on the glass or in the feeder tray, ensuring that it is aligned with the designated markers. If you have multiple pages, arrange them in the correct order to avoid any confusion later.
Adjusting Copy Settings
Before making the copies, take a moment to review and adjust the copy settings if necessary. This includes selecting the desired paper size, adjusting the darkness or contrast settings, and specifying any additional features such as double-sided copying or collating. These settings can usually be accessed through the copy machine's control panel or touchscreen interface. Take your time to familiarize yourself with the options available on your specific machine.
Making the Copies
With the document properly placed and the settings adjusted, it's time to make the copies. Press the "Start" button or a similar designated button to initiate the copying process. Depending on the machine's speed and complexity, it may take a few moments for the copies to be produced. Avoid opening the cover or interrupting the process while the machine is in operation to prevent any damage or errors.
Checking and Collecting the Copies
Once the copying process is complete, carefully remove the copied documents from the output tray or feeder tray. Take a moment to check the quality and clarity of the copies, ensuring that they meet your standards. If necessary, adjust the settings and repeat the copying process until you are satisfied with the results. Remember to collect all the copies and organize them as needed, such as stapling or paper-clipping them together.
Additional Features and Troubleshooting
Modern copy machines often come equipped with additional features to enhance your copying experience. These may include options for color copying, scanning, faxing, or even sending documents directly to email addresses. Refer to the user manual or consult with the copy machine's manufacturer for detailed instructions on utilizing these advanced functions. In case of any issues or malfunctions, refer to the troubleshooting section of the user manual or contact the technical support team for assistance.