
Introduction
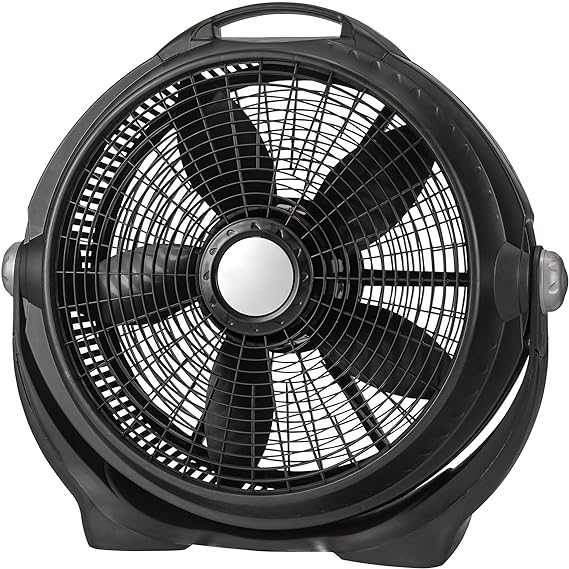
A wind machine fan is a popular appliance used to circulate air and create a cooling breeze. However, over time, dust and dirt can accumulate on the fan blades, reducing its efficiency and potentially causing it to make noise. Regularly cleaning your wind machine fan is essential to maintain its performance and prolong its lifespan. In this article, we will provide you with a step-by-step guide on how to clean a wind machine fan effectively.
Gather the Necessary Tools
Before you begin cleaning your wind machine fan, it's important to gather the necessary tools. You will need a screwdriver, a soft cloth or sponge, mild detergent, a vacuum cleaner with a brush attachment, and a can of compressed air. Having these tools ready will make the cleaning process more efficient.
Disconnect and Disassemble the Fan
Prior to cleaning, make sure to disconnect the wind machine fan from its power source. Once disconnected, you can start disassembling the fan. Use the screwdriver to remove any screws or clips that hold the front and back grills together. Carefully separate the grills and set them aside.
Clean the Fan Blades
With the grills removed, you can now clean the fan blades. Start by using a vacuum cleaner with a brush attachment to remove loose dust and debris from the blades. Be gentle to avoid bending or damaging the blades. Next, dampen a soft cloth or sponge with mild detergent and wipe each blade thoroughly. Pay attention to any stubborn stains or dirt build-up and gently scrub them away. Rinse the cloth or sponge as needed and continue until all blades are clean.
Clean the Grills
While the fan blades are drying, you can clean the grills. Use the vacuum cleaner to remove any dust or dirt from the front and back grills. Pay close attention to the openings and crevices where dust tends to accumulate. Once the loose debris is removed, wipe the grills with a damp cloth or sponge using mild detergent. Rinse the cloth or sponge as needed and ensure that both grills are thoroughly clean before proceeding.
Reassemble the Fan
Once the fan blades and grills are completely dry, it's time to reassemble the wind machine fan. Align the front and back grills carefully and secure them back in place using the screws or clips you removed earlier. Ensure that the grills are properly aligned to avoid any gaps or misalignment that may affect the fan's performance.
Final Touches
After reassembling the fan, give it a final inspection to ensure everything is in place. If you notice any loose screws or clips, tighten them appropriately. Once you are satisfied with the reassembly, use a can of compressed air to blow away any remaining dust or debris from the fan and its surrounding areas. This will help maintain optimal performance and prevent future build-up.
Conclusion
Regularly cleaning your wind machine fan is crucial to keep it running efficiently and effectively. By following the step-by-step guide provided in this article, you can easily clean your wind machine fan and enjoy its cooling benefits for years to come. Remember to disconnect the fan from its power source, gather the necessary tools, and take your time to clean both the blades and grills. With a clean wind machine fan, you can enjoy a refreshing breeze whenever you need it.