
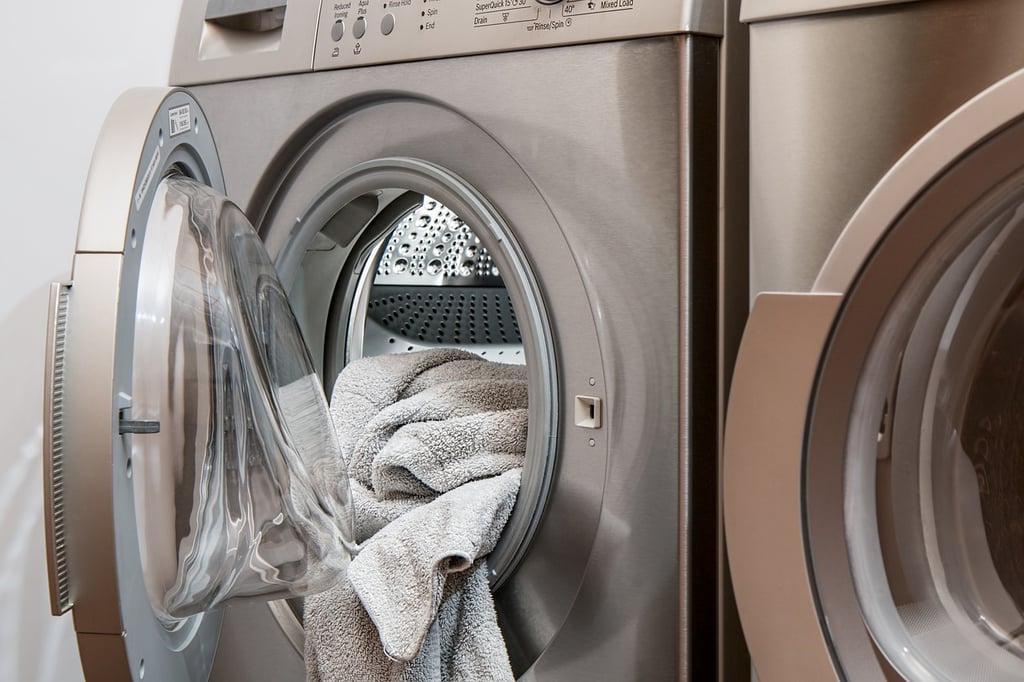
Regular maintenance and cleaning of your LG washing machine filter are essential to keep your machine running smoothly and ensure your clothes come out clean. Over time, the filter can become clogged with debris, lint, and other particles, which can lead to poor performance and even damage to your machine. In this article, we will provide you with a step-by-step guide on how to clean the filter of your LG top loader washing machine.
Why Should You Clean the LG Washing Machine Filter?
The LG washing machine filter is designed to trap lint, hair, and other small particles that may be present in your laundry. When the filter becomes clogged, it can affect the efficiency of your machine and result in clothes that are not properly cleaned. Cleaning the filter regularly helps prevent blockages and ensures proper water drainage, reducing the risk of damage to your machine and prolonging its lifespan.
Step 1: Turn Off and Unplug the Washing Machine
Before you start cleaning the filter, make sure the washing machine is turned off and unplugged from the power source. This is crucial to prevent any accidents or electrical shocks while working on the machine.
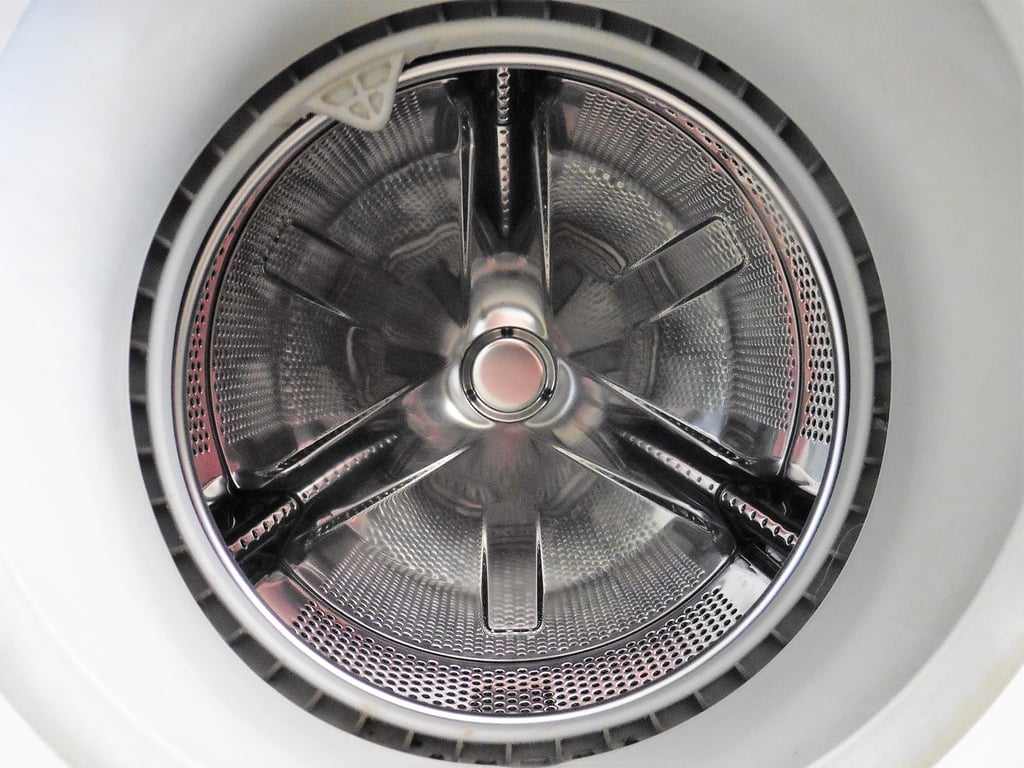
Step 2: Locate the Filter
The location of the filter may vary depending on the model of your LG washing machine. In most top loader models, the filter is usually located at the back of the machine, near the bottom. Look for a small door or panel that can be opened to access the filter.
Step 3: Remove the Filter
Once you have located the filter, carefully open the door or panel to access it. The filter is typically a small, removable compartment that can be pulled out or twisted to unlock. Take care not to force the filter out, as it may break or cause damage to the machine.
Step 4: Clean the Filter
Using a soft brush or a cloth, gently remove any visible debris, lint, or hair from the filter. You can also rinse the filter under running water to remove any stubborn dirt. Make sure to clean both the filter and the surrounding area to ensure thorough cleaning.
Step 5: Reinstall the Filter
After cleaning the filter, carefully place it back into its original position. Ensure that it is properly aligned and securely locked in place. Close the door or panel, making sure it is tightly sealed.
Step 6: Run a Test Cycle
Once you have cleaned and reinstalled the filter, it is important to run a test cycle to ensure everything is working correctly. Select a short cycle with no clothes and let the machine run. This will help verify that the filter is functioning properly and there are no leaks or issues with the machine.
Step 7: Regular Maintenance
To prevent future clogs and maintain the cleanliness of your LG washing machine, it is recommended to clean the filter at least once every few months or whenever you notice a decrease in performance. Additionally, regularly check and clean the detergent dispenser drawer and the drum to keep your machine in optimal condition.
Conclusion
Cleaning the LG washing machine filter is a simple yet crucial task that should be a part of your regular maintenance routine. By following these step-by-step instructions, you can ensure that your LG top loader washing machine remains efficient, prolonging its life and providing you with clean and fresh laundry every time.
Relative Articles
-
Washing Machine Hacks: No More Tangled Clothes

-
How to Clean a GE Deep Fill Washing Machine

-
How to Clean a Public Washing Machine Before Use

-
What is the Drum of a Washing Machine?

-
How to Keep Washing Machine from Freezing in Garage

-
How to Run Washing Machine Drain Outside

-
How Many Amps Do Washing Machines Use?

-
How to Tell If Your Washing Machine Control Board Is Bad
