
A Fascinating Introduction to the Mechanical Worm
In the world of robotics and engineering, the mechanical worm stands out as a remarkable creation. This unique invention mimics the movements of a real worm, making it an excellent tool for various applications, such as exploring tight spaces, conducting research in harsh environments, and even assisting in medical procedures. If you're curious about how to make your own mechanical worm, this step-by-step guide will take you through the process. Get ready to dive into the exciting world of robotics and bring your very own mechanical worm to life!

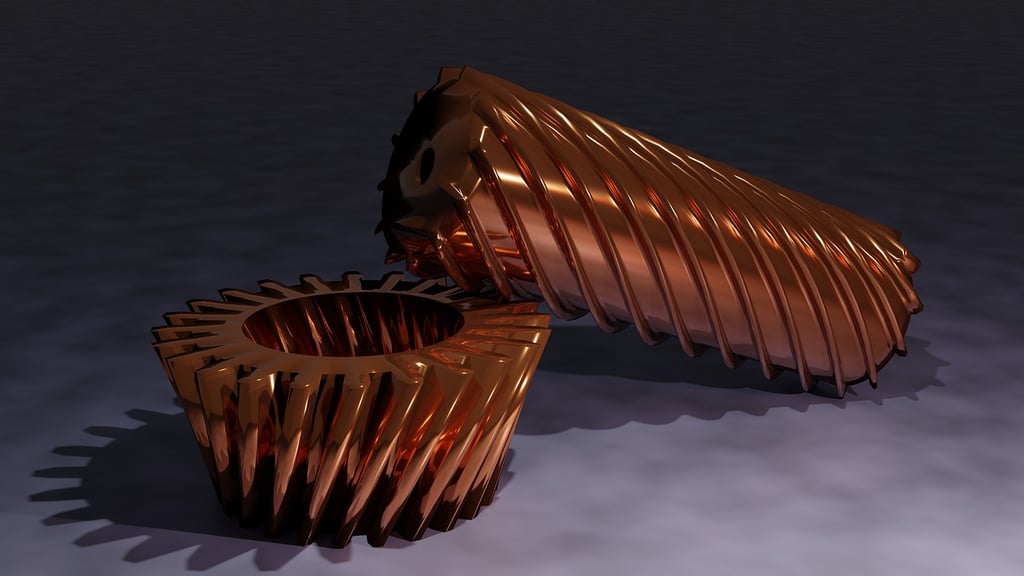
Gathering the Necessary Materials
Before diving into the construction process, it's important to gather all the required materials. Here's a list of items you'll need to bring your mechanical worm project to fruition:
- Arduino board
- Servo motors
- Wires and connectors
- 3D printed parts (worm body segments, gears, and joints)
- Battery pack
- Screws and nuts
- Microcontroller
- USB cable
- Heat shrink tubing
Constructing the Body and Segments
The first step in building a mechanical worm is to construct its body and segments. This is where the 3D printed parts come into play. Start by printing the worm body segments and gears according to the provided specifications. Once printed, carefully assemble the segments together, ensuring that they are securely connected. Additionally, attach the gears and joints at the appropriate locations, as these will be crucial for the worm's movement.
Connecting the Servo Motors
Next, it's time to connect the servo motors to the body segments. Servo motors are essential components that enable the worm to move in a realistic manner. Begin by identifying the appropriate locations on each segment to attach the servo motors. Make sure to secure the motors tightly, using screws if necessary. Once all the servo motors are connected, carefully route the wires from each motor to the microcontroller, ensuring they are properly organized and free from any obstructions.
Wiring and Programming the Microcontroller
To control the movement of your mechanical worm, you'll need to wire and program the microcontroller. Connect the servo motors to the microcontroller using the wires and connectors, ensuring that each motor is correctly assigned to its respective pin on the microcontroller. Once the wiring is complete, it's time to program the microcontroller. Using the Arduino software, write the necessary code to control the movement of the worm. This may involve programming specific sequences of servo motor rotations to simulate the crawling motion of a real worm.
Powering Up the Mechanical Worm
With the construction and programming complete, it's time to power up your mechanical worm. Connect the battery pack to the microcontroller, ensuring that the polarity is correct. Double-check all connections and make sure everything is secure before turning on the power. Once the power is on, your mechanical worm should come to life, crawling and moving just like a real worm.

Exploring Further Possibilities
Now that you've successfully built your own mechanical worm, the possibilities for its use are endless. Consider exploring further applications and enhancements for your creation. You could experiment with different materials for the body segments, incorporate sensors for autonomous navigation, or even add a camera for remote exploration. The world of robotics is constantly evolving, and with your newfound knowledge, you can continue to push the boundaries of what a mechanical worm can achieve.