Understanding the Offset Printing Machine
An offset printing machine is a widely used printing technology that produces high-quality prints with excellent color accuracy and sharpness. It is commonly used for large-scale commercial printing projects such as newspapers, magazines, brochures, and posters. This article will provide you with a step-by-step guide on how to work an offset printing machine effectively.
Step 1: Preparing the Design and Artwork
Before operating the offset printing machine, it is crucial to have a well-prepared design and artwork. This includes creating the layout, selecting the appropriate color scheme, and ensuring that all text and images are properly positioned. Once the design is finalized, it needs to be converted into a digital file format compatible with the offset printing machine.
Step 2: Preparing the Plates
The offset printing process involves transferring the ink from the plates to a rubber blanket, which then applies the ink onto the paper. To prepare the plates, you need to coat them with photosensitive chemicals and expose them to UV light using a plate-making machine. This process ensures that the image is transferred accurately onto the plates.
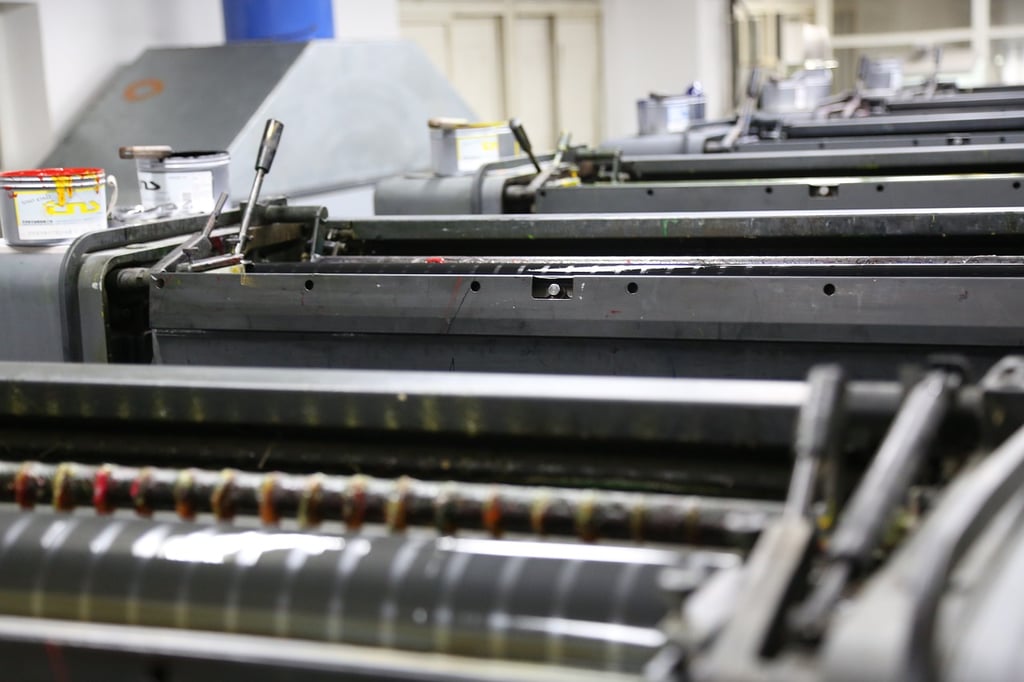
Step 3: Setting Up the Offset Printing Machine
Proper setup of the offset printing machine is crucial for achieving high-quality prints. Begin by installing the plates onto the plate cylinders, ensuring they are aligned correctly. Adjust the ink rollers and water rollers for optimal ink distribution and water balance. Additionally, set the paper feed and delivery systems to accommodate the paper size and thickness.
Step 4: Ink and Water Balance
One of the key challenges in offset printing is maintaining the perfect balance between ink and water. Incorrect ink and water balance can result in issues such as ink smudging or poor color reproduction. Adjust the ink density and water flow on the machine to achieve the desired balance. Regularly monitor and make adjustments as necessary during the printing process.
Step 5: Printing and Quality Control
Once the machine is set up and the ink and water balance is adjusted, you can start the printing process. Feed the paper into the machine and let it pass through the different cylinders, where the ink is transferred onto the rubber blanket and then onto the paper. Monitor the print quality throughout the process and make any necessary adjustments to maintain consistency and accuracy.
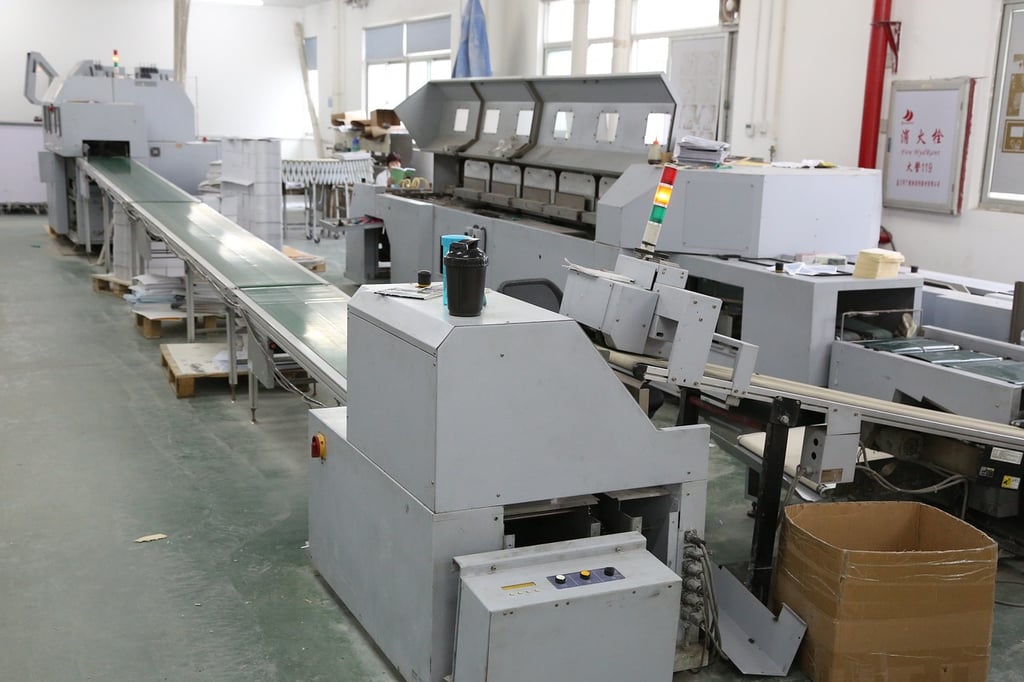
Step 6: Finishing and Post-Printing
After the printing process is complete, the prints may require additional finishing touches. This can include trimming excess paper, folding, binding, or applying special coatings for protection or enhancement. Carefully inspect the final prints for any defects or imperfections before packaging them for distribution.