Introduction
Offset printing is a popular and widely used printing technique that produces high-quality prints in large quantities. This article will provide a step-by-step guide to understanding the offset printing process, from prepress to finishing, highlighting the key steps and equipment involved.
Prepress
Before the actual printing begins, the prepress stage plays a crucial role in preparing the artwork and materials for production.
Design and Artwork Preparation
The offset printing process starts with designing the artwork using software like Adobe Illustrator or InDesign. The design includes all the elements, such as text, images, and graphics, that will be printed on the final product. It is essential to ensure the artwork is of high resolution and properly formatted for optimal printing results.
Plate Creation
Once the design is finalized, the next step involves creating printing plates. Offset printing uses metal plates, usually made of aluminum, which transfer the ink onto the printing surface. These plates are created using a computer-to-plate (CTP) system, where the design is directly imaged onto the plates using lasers or thermal imaging technology.
Printing Process
After the prepress stage, the actual printing process begins. This section will outline the primary steps involved in offset printing.
Ink and Water Balance
Offset printing utilizes the principle that oil and water repel each other. The printing plate has areas that attract ink and areas that repel it, forming the image to be printed. However, since water is also used during the process to keep the non-image areas clean, achieving the right balance between ink and water is crucial for high-quality prints.
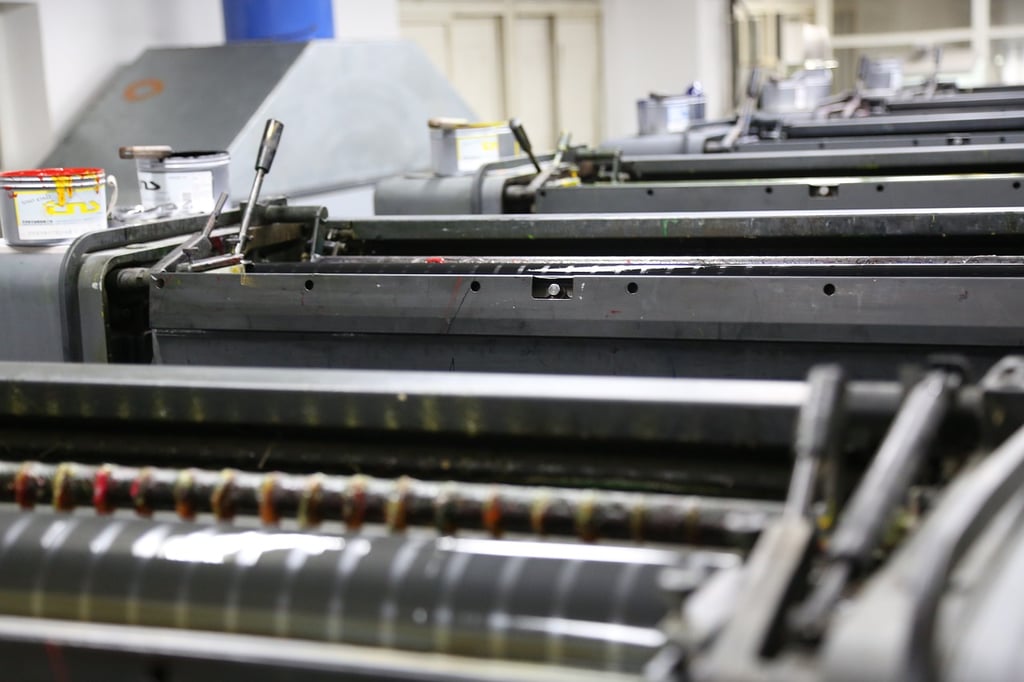
Inking the Plate and Blanket
Once the ink and water balance is achieved, the printing press applies ink to the plate. The ink is transferred to a rubber blanket and then onto the printing substrate, which is typically paper or cardboard. The blanket acts as an intermediary, allowing the ink to transfer smoothly without direct contact with the plate.
Impression and Transfer
During the printing process, the printing substrate passes through the press under significant pressure. This pressure ensures that the ink is transferred evenly from the blanket onto the substrate, resulting in a clear and sharp image. The impression is controlled by adjusting the pressure and ensuring proper registration between the colors if printing multiple colors.
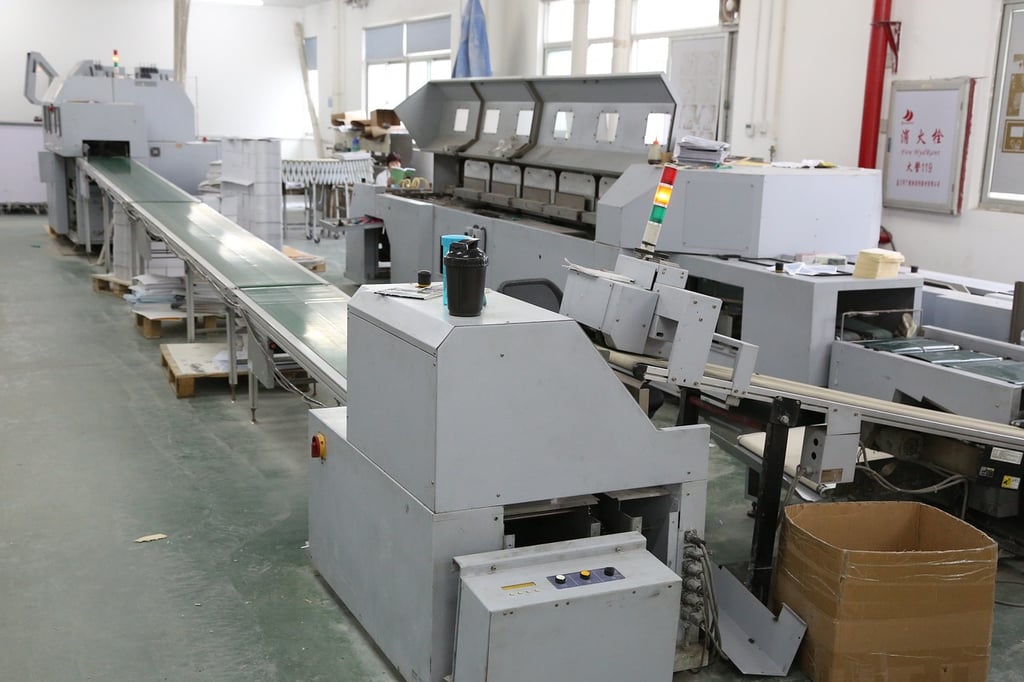
Finishing and Post-Press
After the printing process, additional steps are taken to complete the final product.
Drying and Curing
Once the prints are off the press, they need to be dried or cured to ensure the ink adheres properly and does not smudge. This is typically done using drying racks or specialized equipment, depending on the type of ink used.
Trimming and Cutting
After the prints have dried, they are trimmed and cut to the desired size. This step ensures a clean and professional finish, removing any excess paper or uneven edges.
Binding and Finishing Options
Depending on the project requirements, various binding and finishing options can be added, such as folding, stapling, binding, embossing, or laminating. These options enhance the overall appearance and durability of the printed materials.
Conclusion
The offset printing process involves several important steps, from prepress to finishing, to produce high-quality prints efficiently. Understanding this process can help individuals and businesses make informed decisions when it comes to printing their materials. Remember, collaboration with a professional printing service can ensure optimal results and a visually impressive final product.