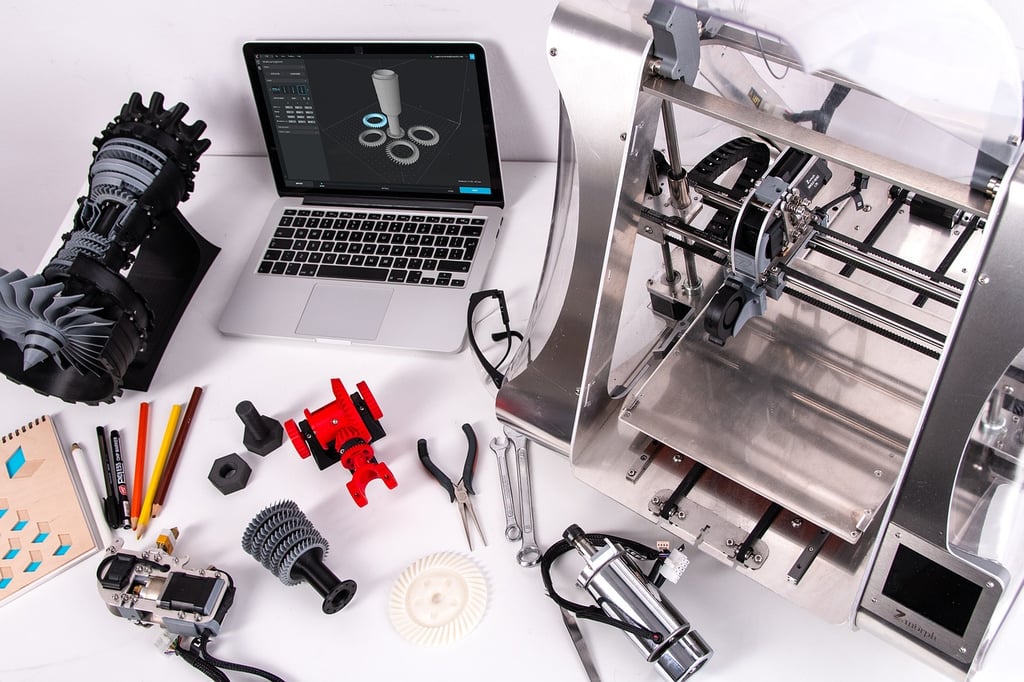
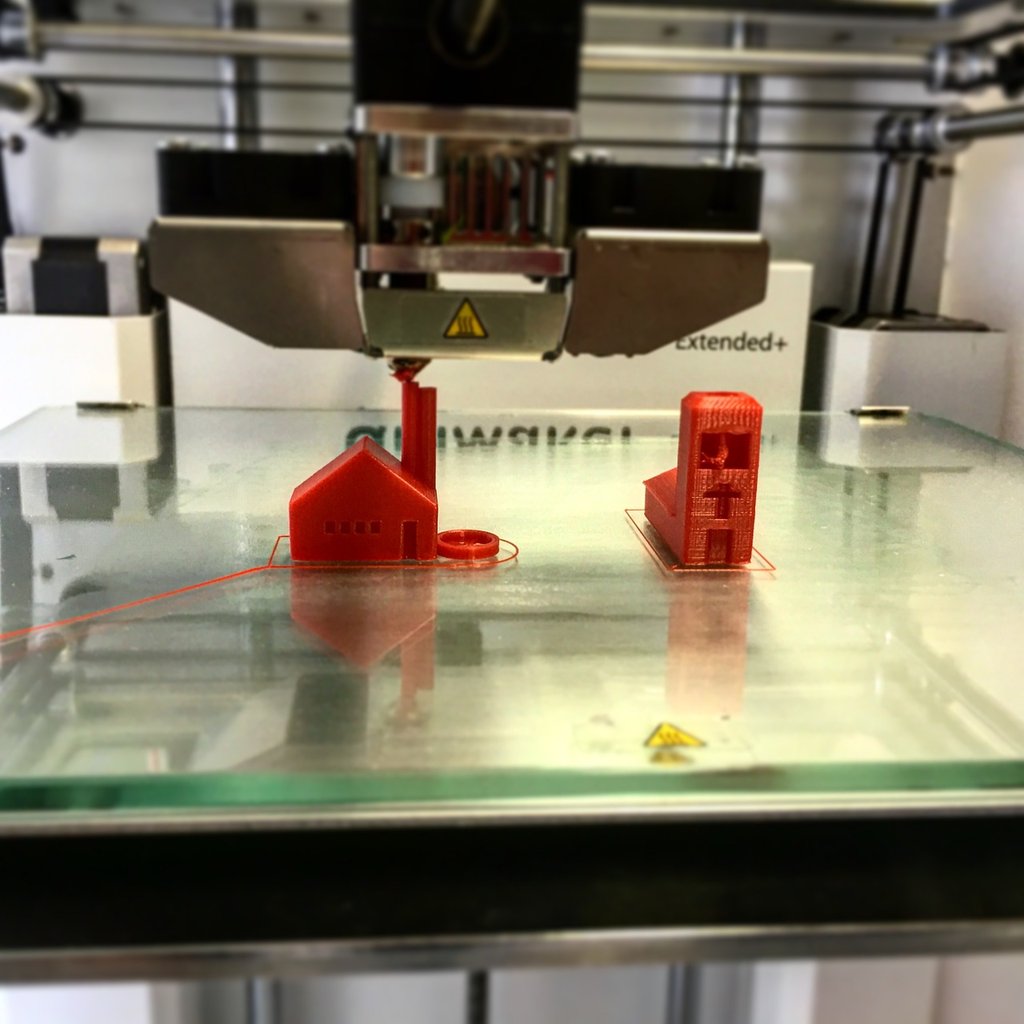
Reduce, Reuse, and Recycle: Creating 3D Printer Filament from Plastic Bottles
As the demand for 3D printing continues to grow, so does the need for affordable and sustainable filament. While there are various types of filaments available in the market, making your own filament from plastic bottles not only helps reduce waste but also saves you money. In this article, we will guide you through the process of creating 3D printer filament from plastic bottles, turning trash into a valuable resource.
Step 1: Collecting and Preparing Plastic Bottles
The first step in making 3D printer filament from plastic bottles is to collect a sufficient number of bottles. Look for bottles made from PET (Polyethylene Terephthalate), as these are the most suitable for filament production. Remove any labels or stickers from the bottles and rinse them thoroughly to remove any remaining liquids or contaminants. It is important to work with clean and dry bottles to ensure the quality of the final filament.
Step 2: Shredding the Plastic Bottles
Once you have collected and prepared the plastic bottles, the next step is to shred them into small pieces. You can use a shredder specifically designed for plastic or a simple DIY shredder made from basic materials. The shredded plastic should be uniform in size, as this will ensure a consistent filament diameter. Aim for a size of around 3-5mm for optimal results.
Step 3: Melting the Shredded Plastic
After shredding the plastic bottles, it's time to melt them down into a malleable form. This can be achieved using a filament extruder, which is a specialized machine designed for melting and extruding plastic. If you don't have access to a filament extruder, you can also use a DIY setup consisting of a heat source, such as a hot plate or a heat gun, and a metal barrel or cylinder to contain the plastic. Gradually heat the shredded plastic until it reaches its melting point, typically around 250-270 degrees Celsius.
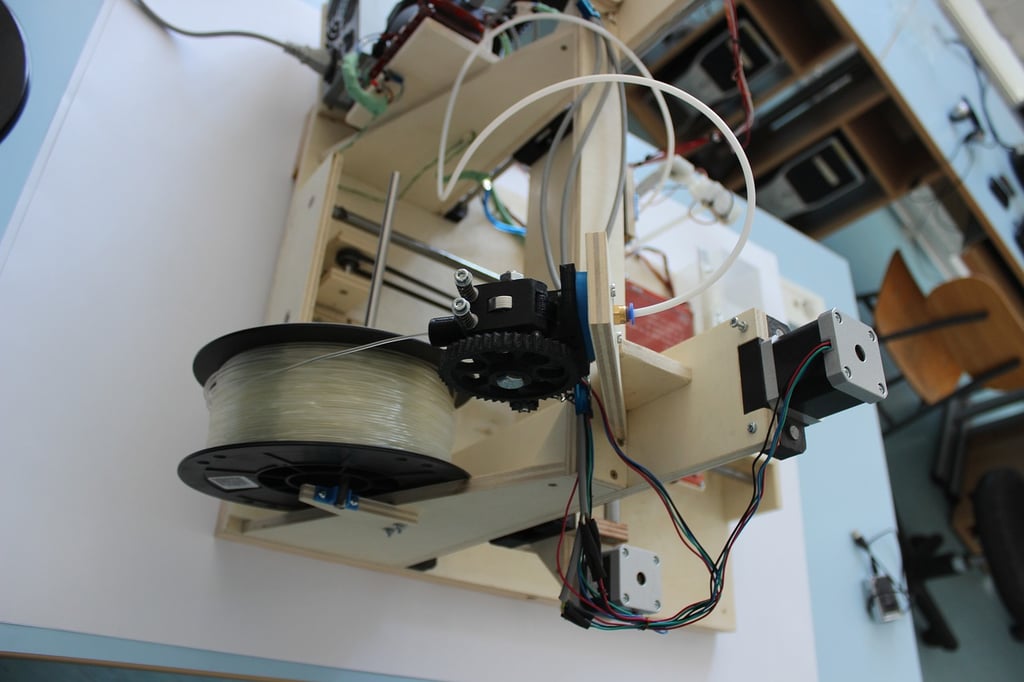
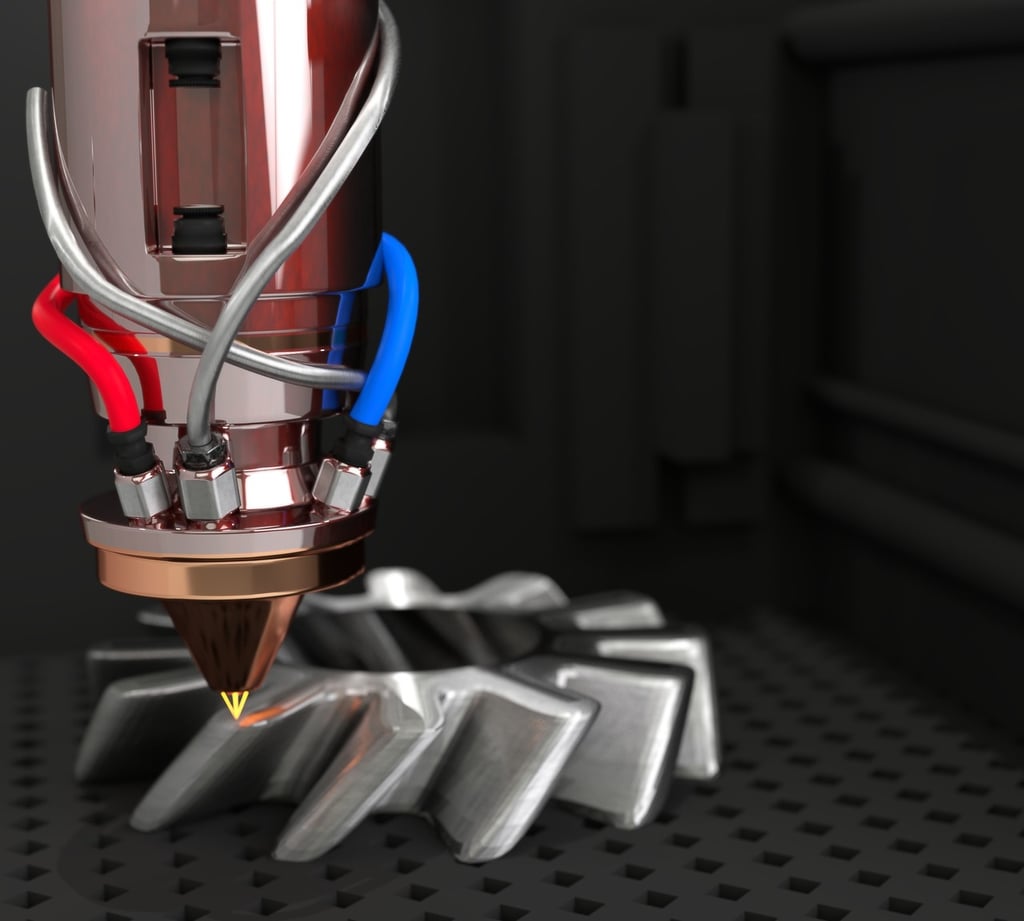
Step 4: Extruding the Filament
Once the plastic has melted, it's time to extrude it into filament form. If you have a filament extruder, follow the manufacturer's instructions to extrude the molten plastic through the nozzle and into a spool. If you're using a DIY setup, carefully push the molten plastic through a small opening, such as a metal tube or a syringe needle, to create a continuous filament. Keep in mind that the filament diameter should be consistent, preferably around 1.75mm or 2.85mm, to ensure compatibility with most 3D printers.
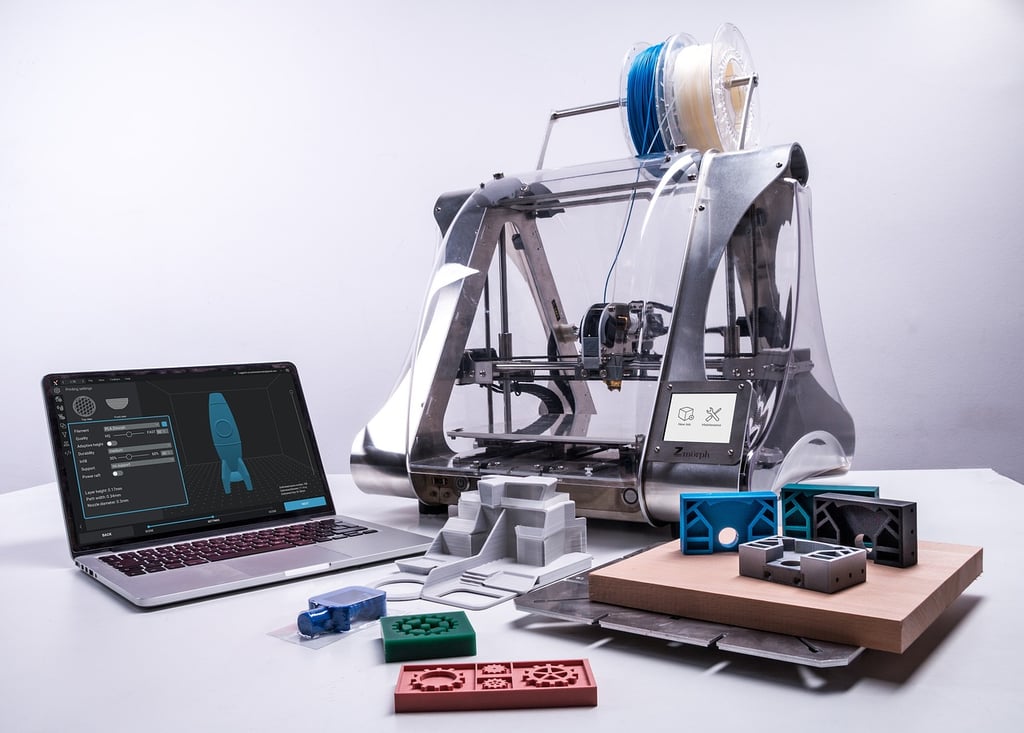
Step 5: Cooling and Spooling the Filament
After extruding the filament, it needs to be cooled down and spooled for future use. You can achieve this by passing the filament through a cooling system, such as a fan or a water bath, to rapidly cool it down and solidify its shape. Once cooled, carefully wind the filament onto a spool, ensuring it is neatly arranged to prevent tangles or knots. Label the spool with the type of plastic used and any other relevant information for future reference.
By following these steps, you can create your own 3D printer filament from plastic bottles, contributing to a more sustainable and eco-friendly approach to 3D printing. Not only does this method help reduce plastic waste, but it also offers a cost-effective solution for filament production. So, start collecting those plastic bottles and embark on your journey towards a greener and more creative future!
3D printer filament, plastic bottles, sustainable filament, reduce waste, DIY filament extruder
Relative Articles
-
What is an Extruder in 3D Printing?

-
Is 3D Printing Hard? Exploring the Prospects of This Innovative Technology

-
How to Remove Raft from 3D Print: A Step-by-Step Guide
-
How to Clean Up Stringing on 3D Print
-
How to Calibrate Your 3D Printer for Optimal Performance
-
Can I Pause a 3D Print Overnight? Exploring the Pros and Cons
-
How to 3D Print Large Objects
-
How to Recycle 3D Printer Filament: A Comprehensive Guide