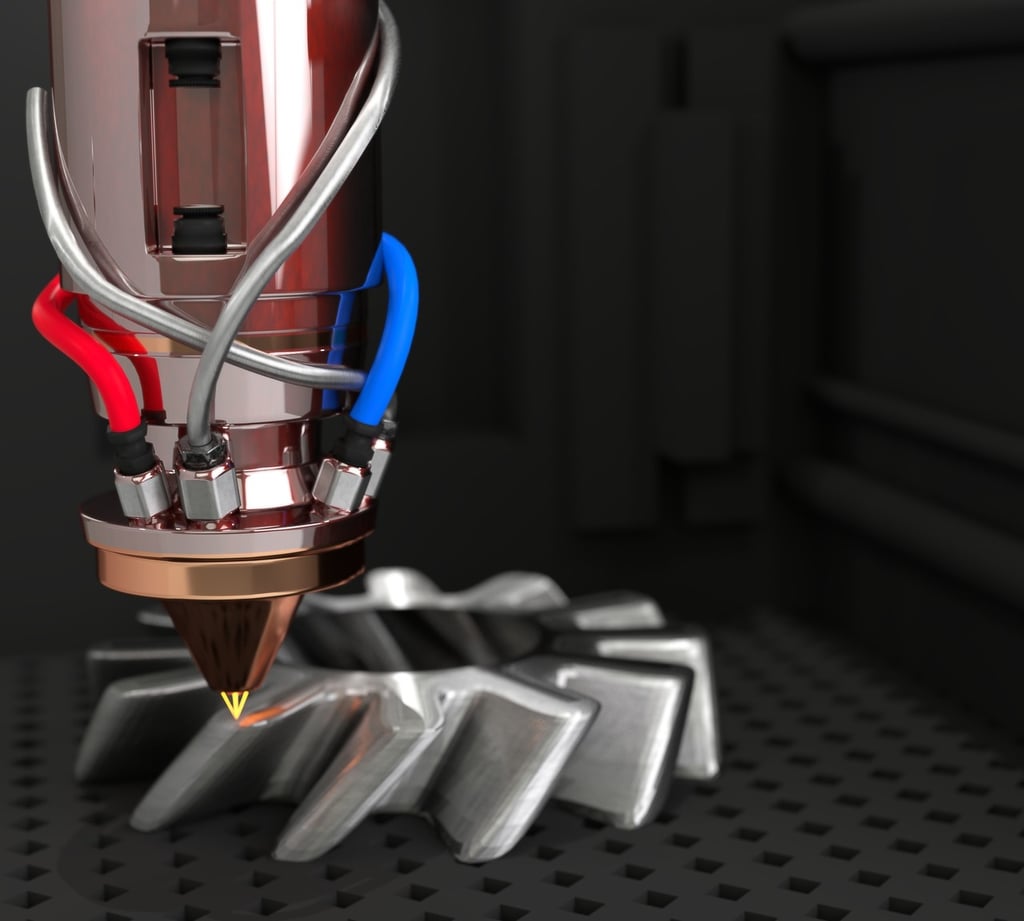
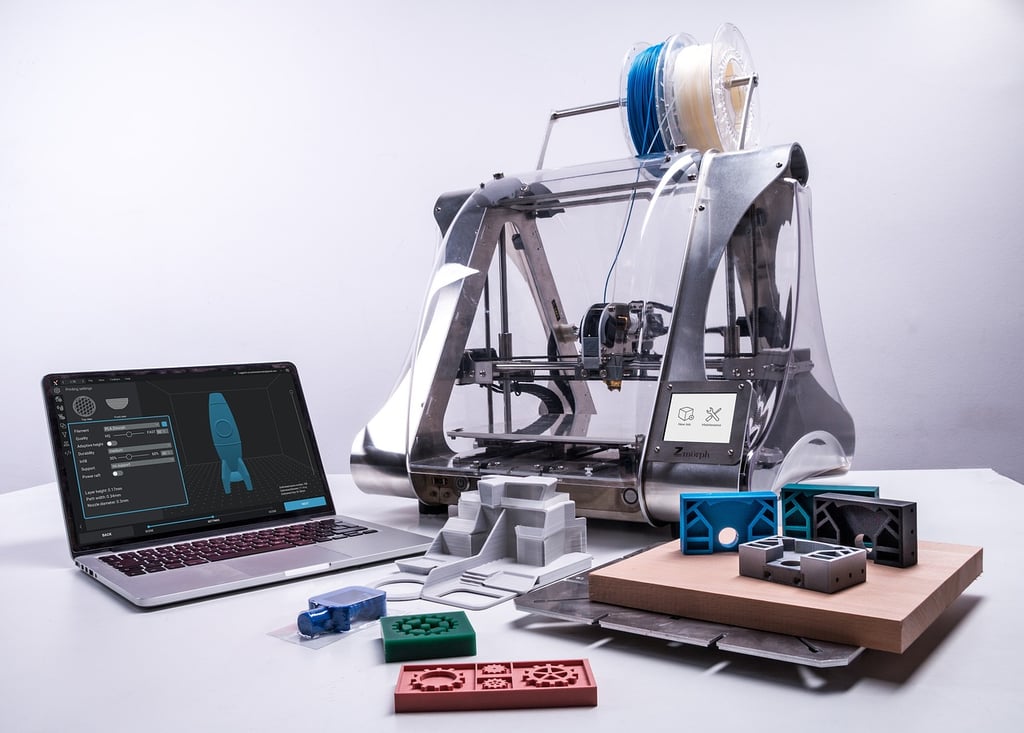
Understanding the Raft in 3D Printing
In the world of 3D printing, a raft is a sacrificial layer that is printed underneath the actual object being printed. The purpose of the raft is to provide a stable base for the print, preventing warping or detachment from the build plate. While it serves its purpose during the printing process, removing the raft can be a bit tricky. In this guide, we will walk you through the steps to successfully remove the raft from your 3D prints.

Gather the Necessary Tools
Before diving into the removal process, it is important to gather the necessary tools. You will need a pair of pliers or tweezers, a scraping tool such as a putty knife or spatula, and a safety razor blade. These tools will help you effectively and safely remove the raft from your 3D print.
Step 1: Let the Print Cool Down
One of the most important steps in removing the raft is to allow the print to cool down completely. This is important because removing the raft while the print is still hot can lead to deformation or damage. It is recommended to wait at least 30 minutes after the print has finished before attempting to remove the raft.
Step 2: Locate the Edges of the Raft
Once the print has cooled down, carefully inspect the edges of the raft. The raft is usually printed with a different color or pattern, making it easier to identify. Look for any gaps or spaces between the raft and the print, as these will serve as entry points for your tools.
Step 3: Start with the Pliers or Tweezers
Using the pliers or tweezers, gently grip one of the edges of the raft and try to lift it away from the print. Apply steady and even pressure to avoid damaging the print. If the raft is firmly attached, you can use the scraping tool to create a small gap between the raft and the print, and then use the pliers or tweezers to lift it off.
Step 4: Scrape Away the Raft
Once you have successfully lifted a portion of the raft, use the scraping tool to carefully scrape away the rest of the raft. Be cautious not to apply too much force or you may damage the print. Work your way around the edges of the print, gradually removing the entire raft.
Step 5: Fine-tune with a Safety Razor Blade
After removing the majority of the raft with the scraping tool, you may notice some smaller remnants or stubborn spots. In such cases, a safety razor blade can come in handy. Use the razor blade to gently scrape away any remaining raft, taking care not to scratch or cut the print. This step requires precision and patience.
Step 6: Clean and Inspect the Print
Once you have successfully removed the raft, it is important to clean and inspect the print. Use a soft brush or cloth to remove any debris or residue left behind by the raft. Inspect the print for any imperfections or damage caused during the removal process. If necessary, you can perform post-processing techniques such as sanding or painting to achieve the desired finish.
3D printing, remove raft, 3D print removal, raft removal, removing support structure
Relative Articles
-
What is an Extruder in 3D Printing?

-
Is 3D Printing Hard? Exploring the Prospects of This Innovative Technology

-
How to Clean Up Stringing on 3D Print
-
How to Calibrate Your 3D Printer for Optimal Performance
-
Can I Pause a 3D Print Overnight? Exploring the Pros and Cons
-
How to 3D Print Large Objects
-
How to Recycle 3D Printer Filament: A Comprehensive Guide

-
How to Make 3D Printer Filament from Plastic Bottles